PostgreSQL Installation

PostgreSQL Getting Started / Installation
PostgreSQL Installation on Windows, Linux, and macOS. Below is a beginner-friendly step-by-step guide to get you started.
Check System Requirements
OS: Windows / Linux / macOS
Disk Space: ~200 MB (more for data)
RAM: Minimum 1 GB (recommended 2 GB+)
Install PostgreSQL
Windows Installation
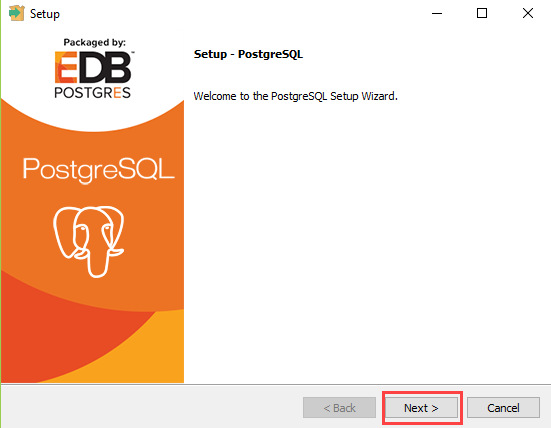
Visit the official PostgreSQL website
https://www.postgresql.org/download/windows/Download the EnterpriseDB installer
Run the installer and select:
PostgreSQL Server
pgAdmin 4
Command Line Tools
Set:
Superuser password (important)
Default port: 5432
Finish installation
- pgAdmin will open automatically after installation.
Linux Installation (Ubuntu/Debian)
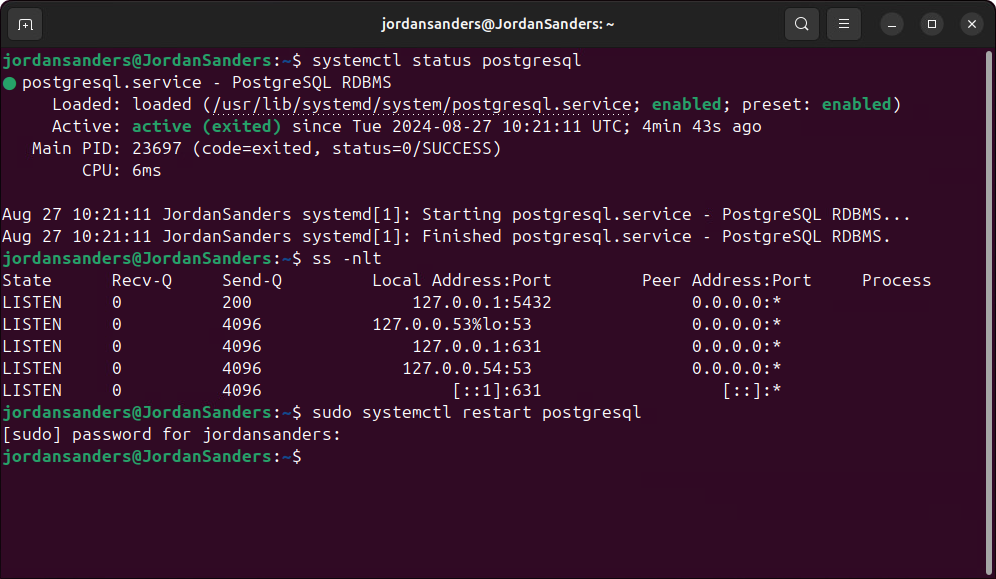
Start and enable PostgreSQL:
Check version:
macOS Installation
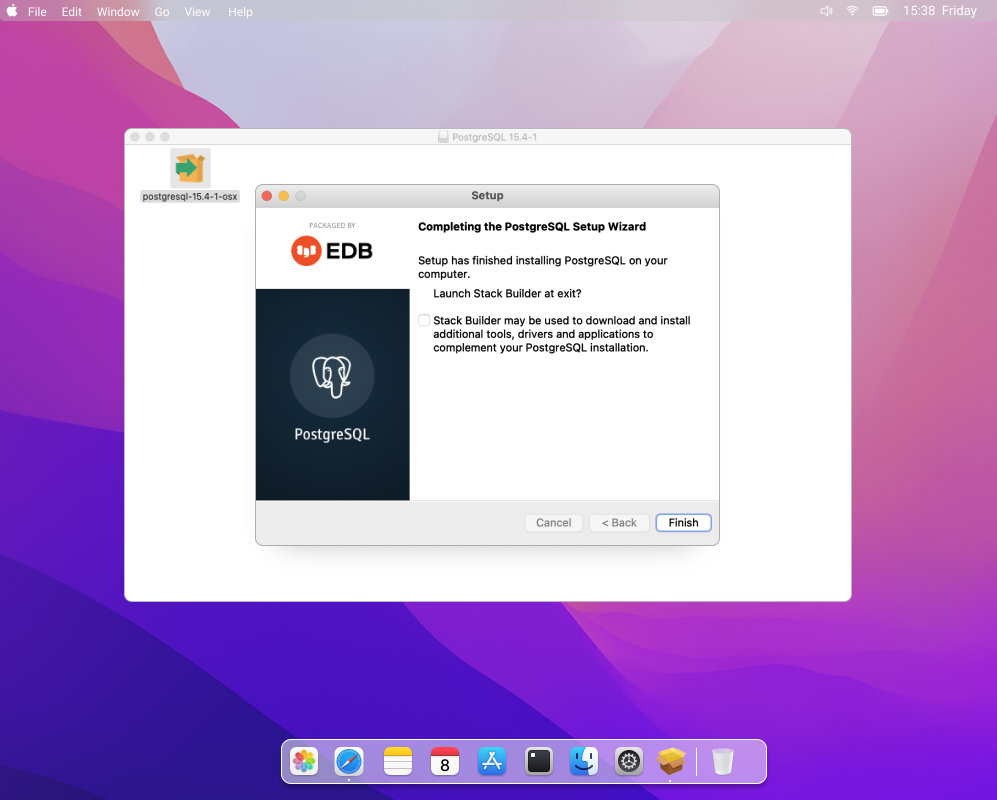
Option 1: Using Homebrew
Option 2: Postgres.app
Download from https://postgresapp.com
Drag to Applications and launch
Access PostgreSQL
Using Command Line (psql)
Linux:
Exit:
Using pgAdmin (GUI Tool)
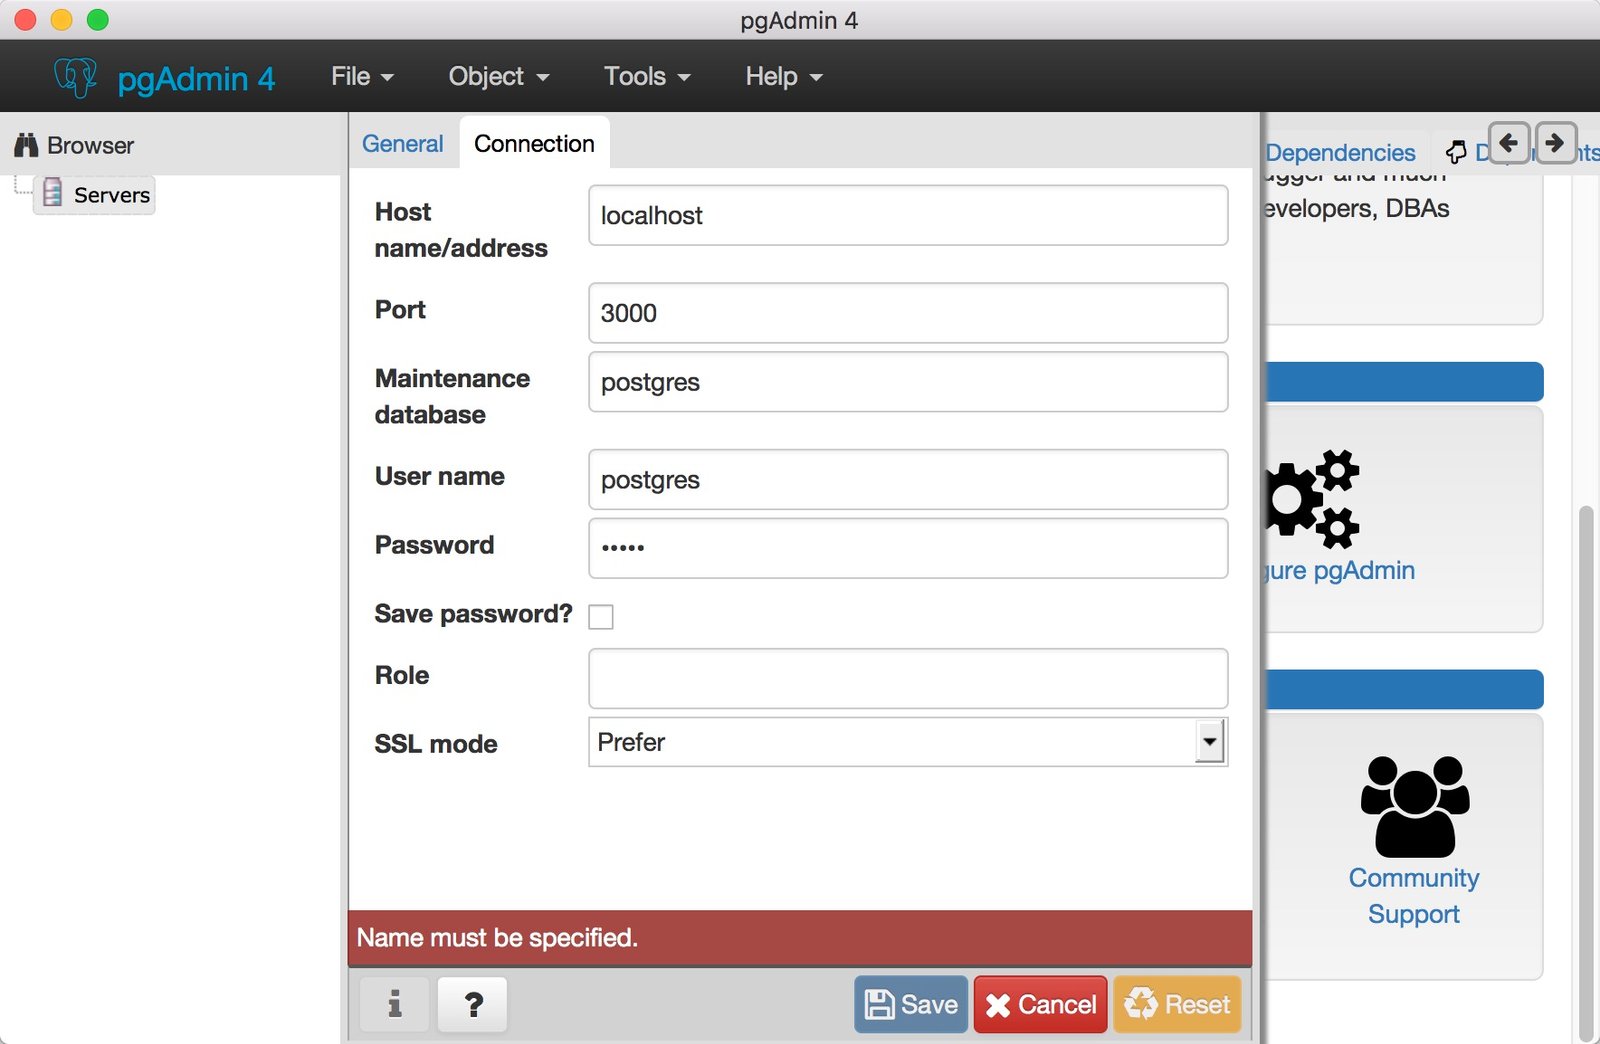
Steps:
Open pgAdmin 4
Create Server → Register
Enter:
Host:
localhostPort:
5432Username:
postgresPassword: (set during install)
Create Your First Database
Connect to database:
Create Your First Table
Insert data:
Basic PostgreSQL Commands
| Command | Description |
|---|---|
\l | List databases |
\dt | List tables |
\d tablename | Describe table |
\c dbname | Connect database |
\q | Quit |
Common Beginner Issues & Fixes
1.psql not recognized
2.Add PostgreSQL bin folder to PATH
3.Password authentication failed
4. Reset postgres password or check pg_hba.conf
5.Port 5432 already in use
6.Change port during installation