R Get Started
R Get Started
This section will help you start using R step by step, even if you are a complete beginner.
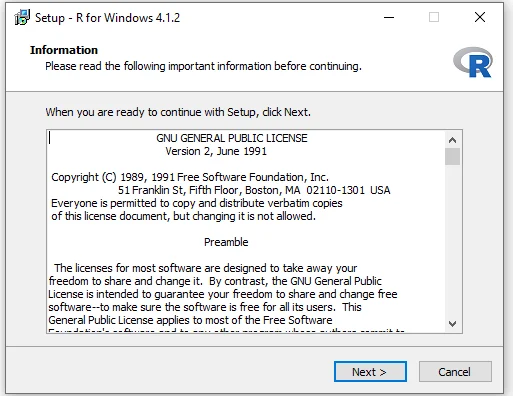
Step 1: Install R
Go to the official R website
Download R according to your operating system:
Windows
macOS
Linux
Install it like any normal software
After installation, you will get the R Console, where you can run R commands.
Step 2: Install RStudio (Recommended)
Although R works alone, RStudio makes R much easier and more powerful.
Why RStudio?
User-friendly interface
Code editor + console in one place
Easy data visualization
Best for beginners
Download and install RStudio after installing R.
Step 3: Open RStudio Interface
When you open RStudio, you will see:
Source Panel – write R code
Console – run commands
Environment – view variables
Plots / Packages / Help – outputs & docs
Step 4: Your First R Program
Type this in the Console or Source Panel:
Output:
Congratulations! You just ran your first R program.
Step 5: Basic Calculations in R
R works like a powerful calculator.
Step 6: Create Variables
<-is the assignment operatorVariables store values for reuse
Step 7: Install & Use Packages
Packages add extra features to R.
Install a package (only once):
Use the package:
Step 8: Get Help in R
R has built-in documentation for everything.

